We all know how the song goes, and as funny as it is, it’s partially true. Beans are an excellent source of fiber, which combine with water to help bulk and soften stool for easy bowl movements. The fiber found in beans is not absorbed for use as energy by our body cells, but it is digested by friendly microflora found in our gut. As our gut buddies digest the fiber they release gas which may cause increased bloating and flatulence (farting). Some may be discouraged from eating beans for fear of discomfort, but I think there may be a solution. There is always the option to eat foods that you know your body and your microflora digest well but another option is to slowly introduce small quantities of foods such as beans into your daily diet. From my understanding of research articles, the microflora in our bodies can be manipulated by long exposure to different dietary habits. Therefore, a person who regularly consumes fruits and vegetables are more likely to have the microflora established to digest beans, compared to someone who consumes a diet low in fruits and vegetables. Reference Other than fiber, beans also have a variety of vitamins and minerals, such as Vitamin A, C and Non-heme Iron. Vitamin A helps maintain eye health and is readily absorbed when eaten with a fat (this doesn’t mean eat deep fried beans, but rather eat beans with a lean steak or drizzle with some olive oil). Vitamin C has multiple functions in our body, one being as an antioxidant scavenging for free radicals, which if free-radicals go unchecked, may cause health concerns. Non-heme Iron is found in plant foods and heme iron is found in animal products. Non-heme iron is not as bioavailable, meaning it’s not as easily absorbed in the body. One way to enhance the absorption of iron, heme or non-heme, is by consuming sources rich in Vitamin C (orange juice), along with the iron rich food.
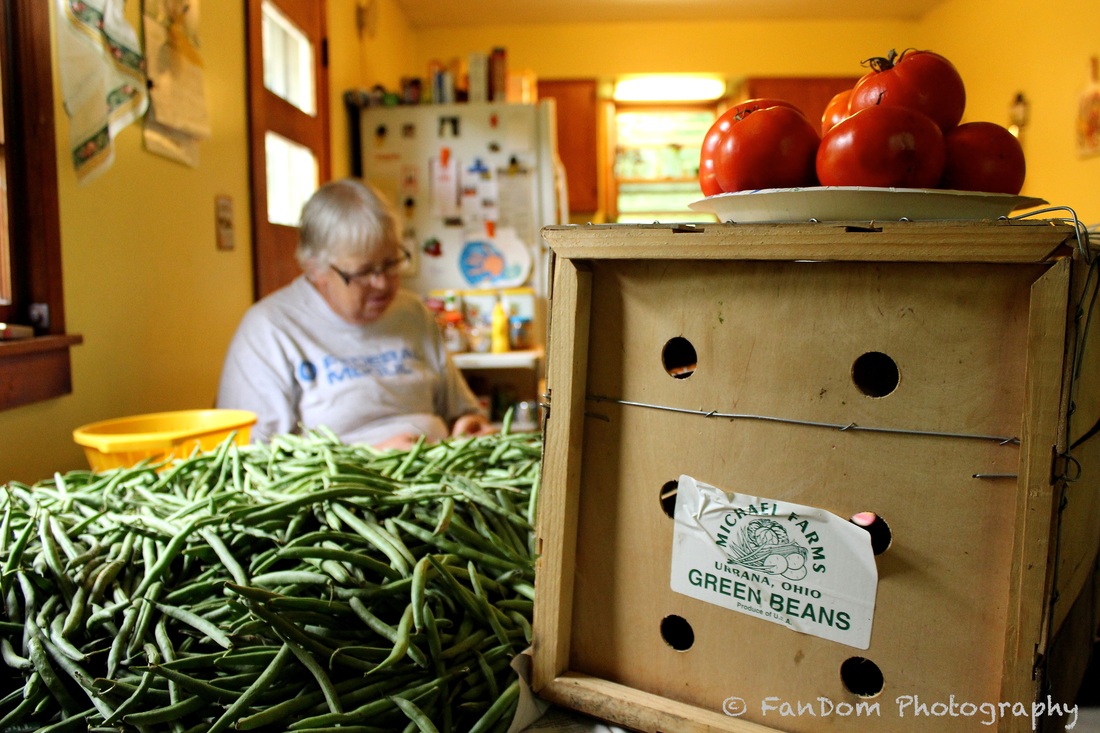
My Aunt Linda, removing bad spots, bean ends, and cutting the beans in half to fit into pint jars.
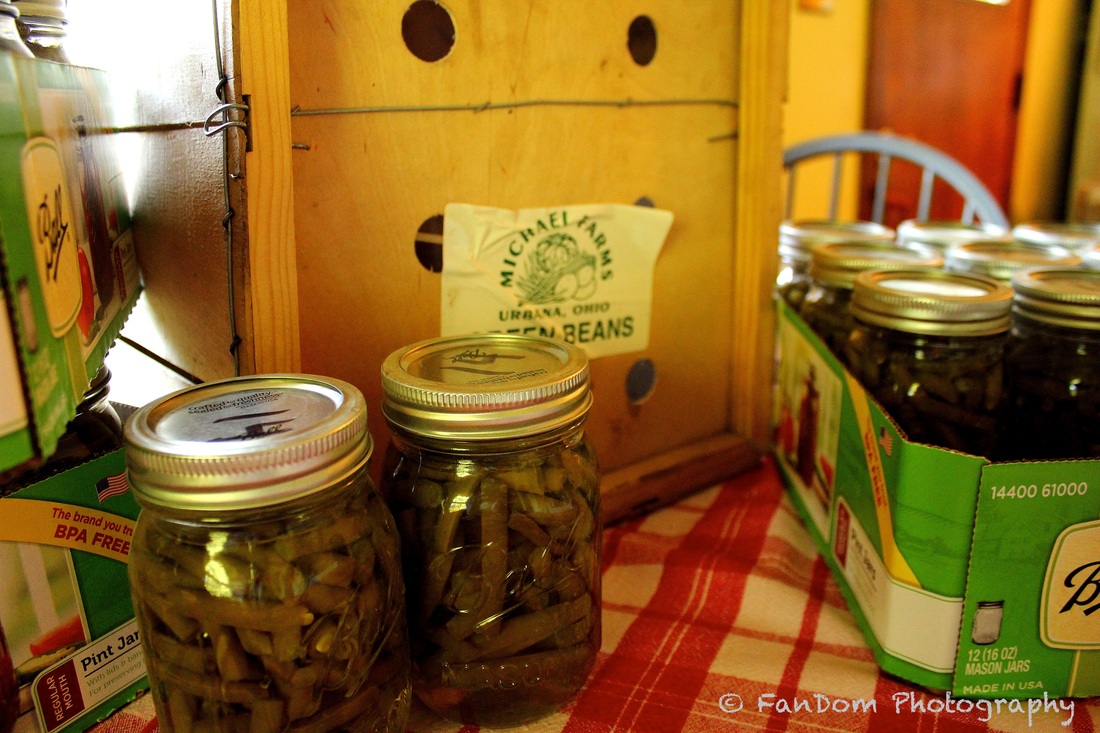
THE PROJECT: Canning Beans
Since staying with my Aunt and Mom on the Farm, I’ve tried to make myself useful around the house. For the past few weeks my Aunt has been on a canning frenzy. She has canned tomatoes, peaches, tomato juice and our friend the green bean. Her and my mother learned to can at a young age. They grew up with a limited income and 10 mouths to feed. Their homestead land provided sustenance and they canned the extra produce for the winter months. Although, the farm can still churn out some fruits and vegetables, it does not produce as much as back in the day, so my Aunt goes to the local farmers markets for foods to preserve.
Many are content with just going to the grocery store for all of their needs. I, on the other hand, am interested in getting back to the simplicity of whole foods, and knowing what is in it and where it comes from. The idea of canning some of my foods is great because I control what I put in it and how much. There isn’t any guess work and it’s actually cheaper than buying from the grocery store. We estimated that to purchase a generic can of green beans would be around $0.70 a 14oz can, but to can a pint cost $0.15. Yes, it is more labor intensive but you also get the satisfaction of a job well done and comfort of knowing exactly what you’re eating.
Many are content with just going to the grocery store for all of their needs. I, on the other hand, am interested in getting back to the simplicity of whole foods, and knowing what is in it and where it comes from. The idea of canning some of my foods is great because I control what I put in it and how much. There isn’t any guess work and it’s actually cheaper than buying from the grocery store. We estimated that to purchase a generic can of green beans would be around $0.70 a 14oz can, but to can a pint cost $0.15. Yes, it is more labor intensive but you also get the satisfaction of a job well done and comfort of knowing exactly what you’re eating.
Items Needed
- Small mouth mason jars
- Small mouth rings and lids
- Canning pressure cooker
- rack
- weight
- gasket (make sure it’s pliable and without cracks)
- intact emergency pressure release valve
5. Farm fresh green beans
6. Iodized salt
7. water
8. Cream of tartar
Steps by pictures
We bought a bushel of green beans and spread them out on Newspaper under a fan, this was done to help remove the field heat, and avoid further molding. My aunt and mother went through and trashed the spoiled beans. The following day my aunt and I removed more that spoiled over night and processed them for canning. We removed both ends, bad spots, and broke the beans in half to fit better in the pint jars. Afterwards we rinsed the beans three times in an empty clean sink. We washed and cleaned jars prior to cleaning the beans.
*Note: The jars are reusable as long as they are not cracked, chipped, or otherwise damaged. The rings are also usable but the lids must be replaced for every canning.*
*Note: The jars are reusable as long as they are not cracked, chipped, or otherwise damaged. The rings are also usable but the lids must be replaced for every canning.*

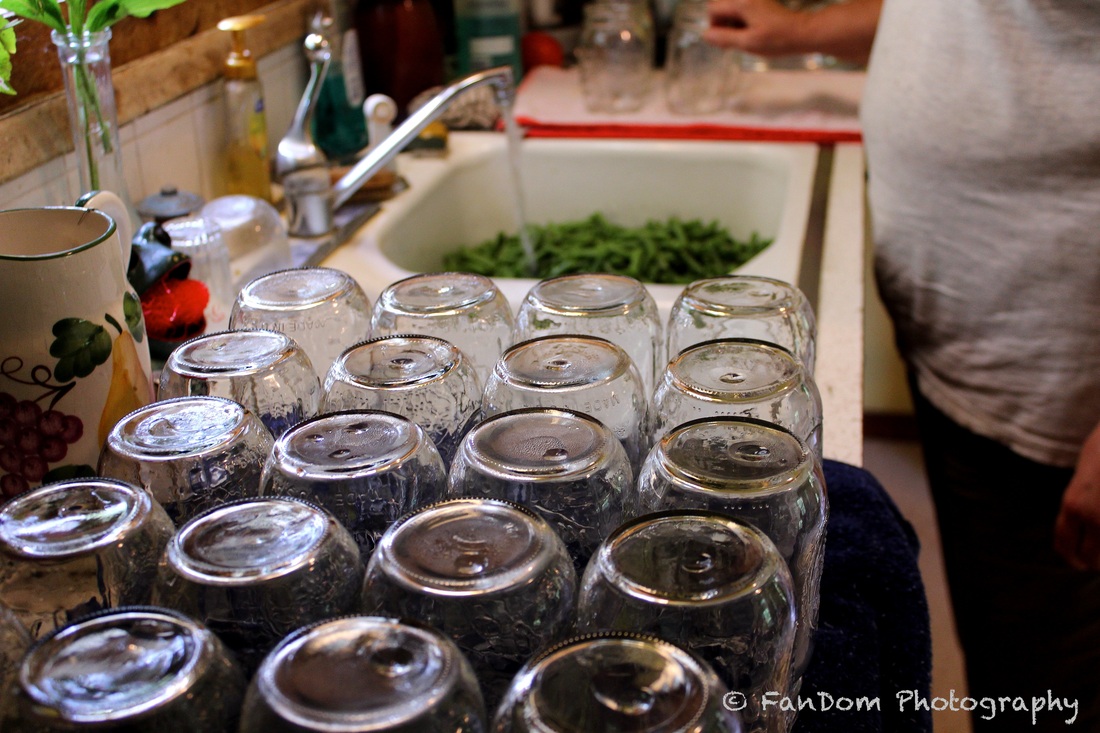
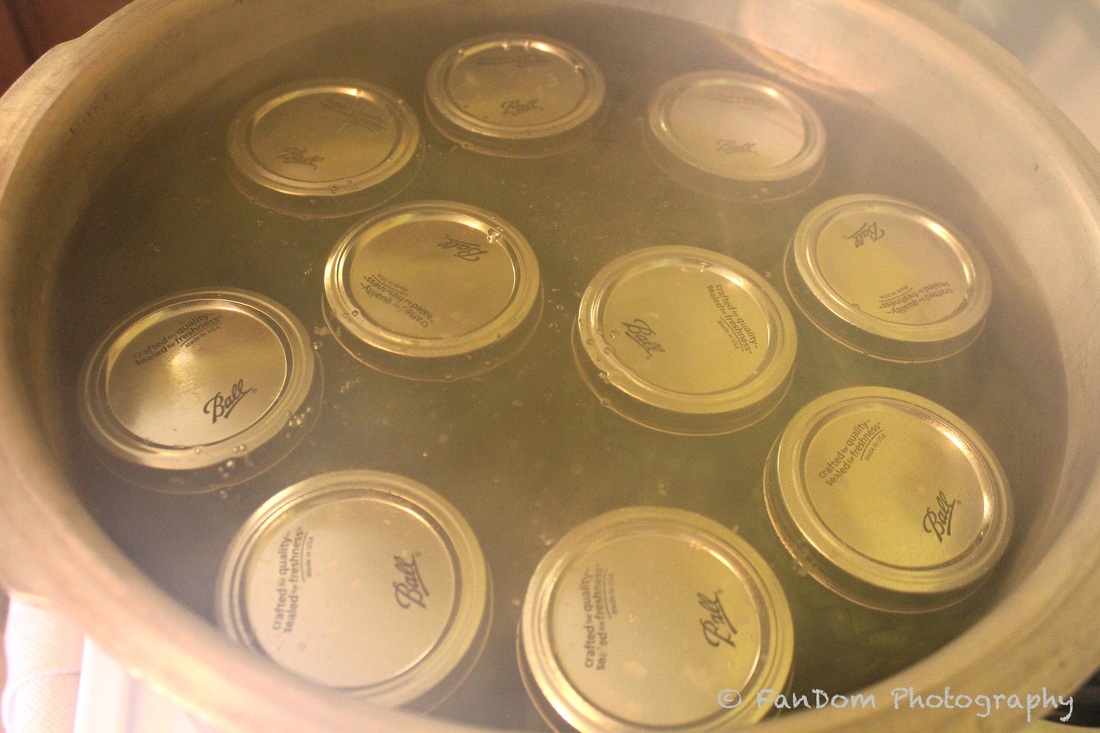
We set up two pots of hot water and had a small amount of water in our pressure cooker, that we heated with the glass mason jars. For the lids and rings, we heated the water but not boiling. Boiling would ruin the lids and their ability to seal, but heated water helps with sterilizing. Heating up the water with the glass mason jars helps heat the jars which is needed before use in the pressure cooker.
*Note: Pressure cookers are used to can non-acidic foods like beans, but to can peaches and tomatoes you will need to use a cold packer. The reason for this is the pressure and heat created helps reduce risk of botulism developing in canned low-acidic foods*
*Note: Pressure cookers are used to can non-acidic foods like beans, but to can peaches and tomatoes you will need to use a cold packer. The reason for this is the pressure and heat created helps reduce risk of botulism developing in canned low-acidic foods*
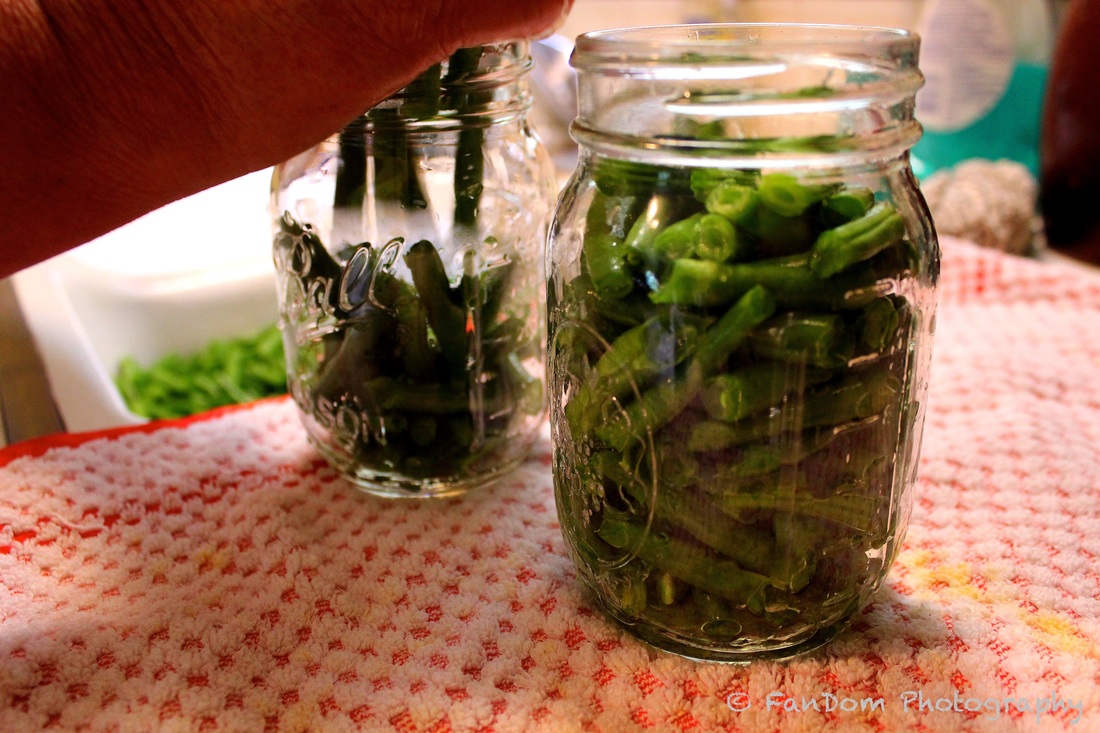
After rinsing the beans you pack them into the heated jars so they are just below the last ring line. Right where it indents.
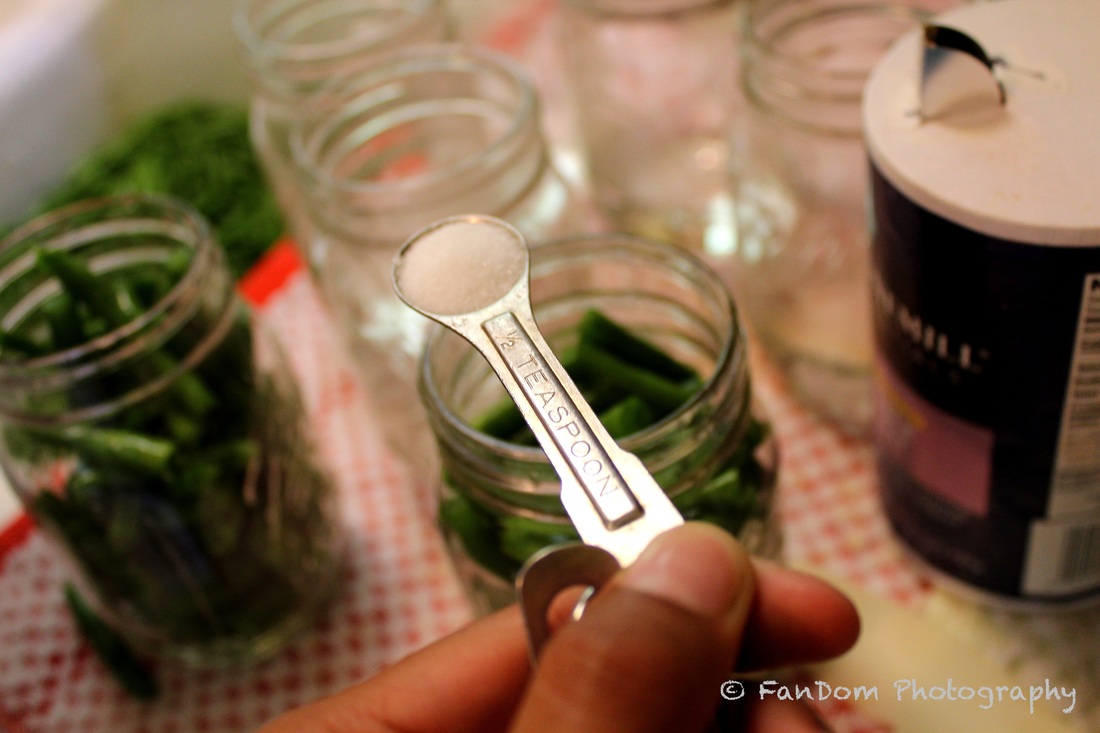
You can add 1/2 teaspoon of salt, which is mostly for taste. Then you scoop in heated water to cover the top of the beans but not to completely fill the jar.
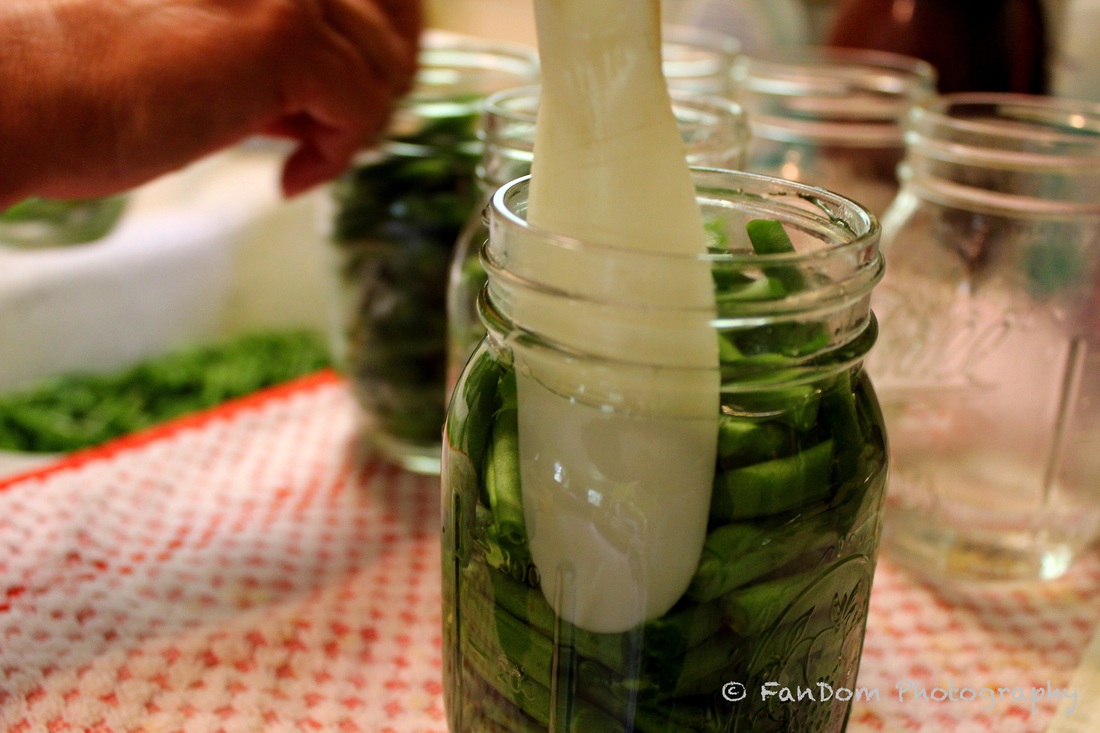
Using a plastic spatula you push down the sides of the beans to release any air bubbles, this also helps mix the salt around.
*Note: you do not want to use metal because it will start in oxidation process of your beans*
*Note: you do not want to use metal because it will start in oxidation process of your beans*
For those who have hard water a teaspoon of cream of tartar helps prevent water spot build up, creating a milky looking jar.
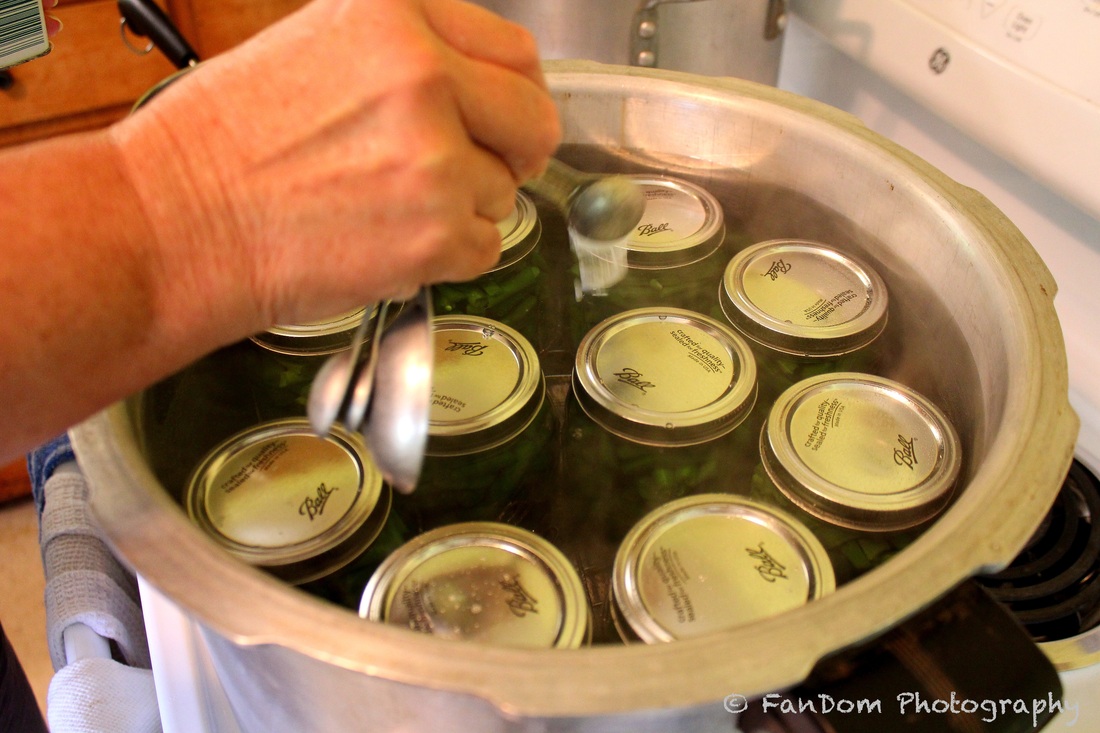
You place all of your jars in the pressure cooker and fill water to below the lower lid line. The lid is then placed on the pressure cooker with the weight in place and set on 10, this may vary dependent on your location and altitude. Once the weighted gauge starts to dance you set the timer for 25 minutes.
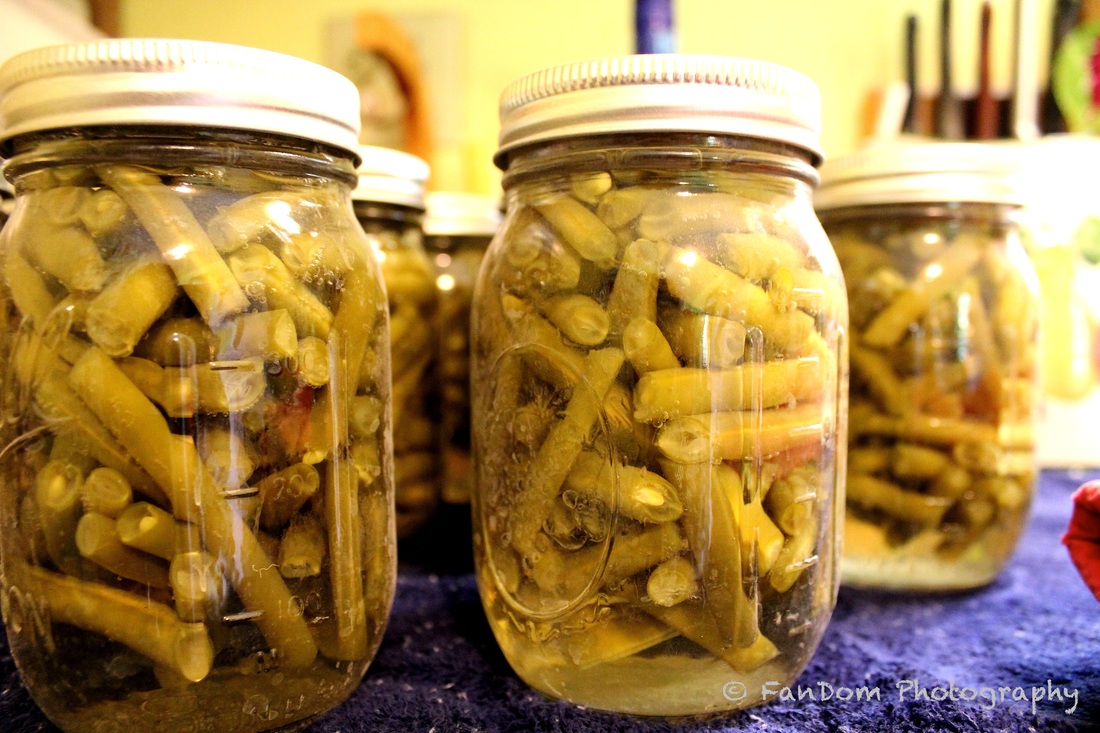
After allowing the pressure cooker to depressurize, on its own, you open the lid and with the jar lifter remove the green beans for cooling.
As the Jars cool they will make a popping sound indicating that they are successfully sealing. Leave the jars unmolested for 24-hrs before putting them away for storage.
*Note: It is recommended that canned foods be eaten within a year they were processed to decrease risk of food borne illnesses. Botulism is a nasty sickness that can cause death, so be food savvy and safe.*
*Note: It is recommended that canned foods be eaten within a year they were processed to decrease risk of food borne illnesses. Botulism is a nasty sickness that can cause death, so be food savvy and safe.*
 RSS Feed
